Ever felt like your room or desk could use a personal touch without costing a fortune? cosas para imprimir aesthetic para armar are the answer. These are DIY papercraft models—digital templates you print and build into 3D objects. They’re a hit because they’re creative, affordable, and let you match your style, whether it’s cottagecore, minimalist, dark academia, or kawaii.
In this article, I’ll show you where to find the best free templates, what tools you need, and how to build them flawlessly. There’s something incredibly satisfying about creating something beautiful and tangible from just a few sheets of paper.
Inspiring Papercraft Ideas to Spark Your Creativity
Ready to dive into the world of papercraft? Let’s explore some trendy and popular project ideas that will get you excited to start.
-
Miniature Dioramas and Room Boxes
Creating tiny, detailed scenes is a fantastic way to showcase your creativity. Think about crafting a cozy library, a plant-filled greenhouse, or even a miniature version of your own room. These dioramas are not just visually appealing; they also offer a sense of accomplishment as you bring every little detail to life. -
Functional Desk Decor
Why not make something both stylish and useful? Printable projects like pen holders, calendar blocks, or small organizers for clips and sticky notes can add a personal touch to your workspace. These items are not only functional but also a great way to express your style. -
Geometric and Abstract Sculptures
Minimalist 3D shapes, low-poly animal heads, or hanging mobiles can add a modern touch to any space. These sculptures are perfect for those who love a clean, contemporary look. Plus, they’re a great conversation starter. -
Cute Characters and Paper Toys (Papertoys)
Building favorite characters from video games and anime, or other adorable figures, is a popular trend. These papertoys are not just fun to make; they also make great gifts. You can find many COSAS PARA IMPRIMIR AESTHETIC PARA ARMAR online, which makes it easy to get started. -
Vintage-Style Automata
These are simple mechanical paper toys that move with the turn of a crank. They offer a charming and interactive result, making them a hit with both kids and adults. The best part?You can create a unique piece that tells a story and brings a smile to anyone’s face.
So, what are you waiting for? Pick a project and let your creativity flow!
Where to Find the Best Free Printable Templates Online
Finding high-quality templates is like hitting a gold mine once you know where to dig. Pinterest is your first stop. Use specific keywords like ‘papercraft template,’ ‘DIY 3D paper model,’ and add aesthetic terms like ‘vintage’ or ‘minimalist’ to narrow down the results.
Canon Creative Park is another top-tier, completely free resource. It’s like a treasure chest with thousands of professional, highly detailed models for all skill levels, from animals to architecture.
DIY blogs and creator websites are also great. Many craft bloggers and paper artists share free templates. Search Google for ‘free papercraft blog’ or ‘printable paper toy’ to find these gems.
Designer communities like Behance can be a hidden gem. Searching on platforms where graphic designers showcase their work can uncover unique and artistic templates not found elsewhere.
Always look for a PDF file. It’s like having a map that maintains the correct printing scale. Check if instructions are included before downloading.
And don’t forget to explore cosas para imprimir aesthetic para armar for some truly unique and visually appealing options.
Your Step-by-Step Guide to Printing and Assembling
Alright, let’s dive in. You’ve got your cosas para imprimir aesthetic para armar ready, and now it’s time to turn that flat sheet into a 3D masterpiece. cosas para imprimir aesthetic para armar
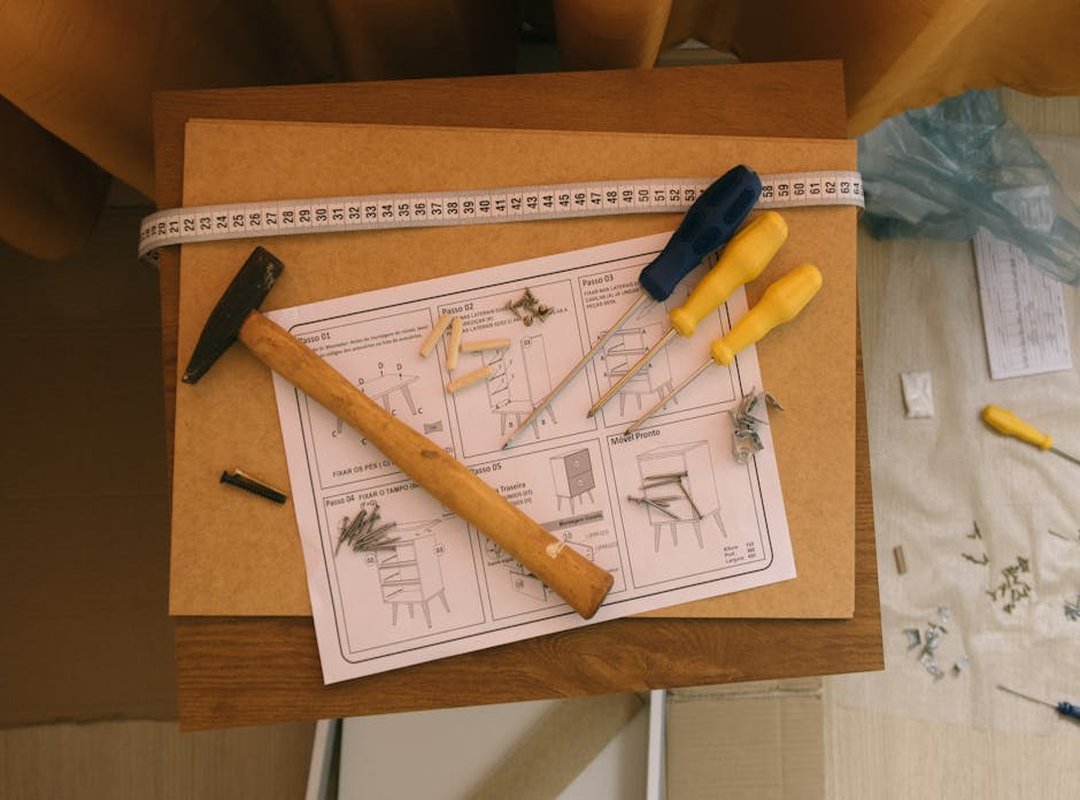
First things first. Gather your essential tools. You’ll need 65-80 lb (175-216 gsm) cardstock paper.
Don’t skimp on this. The right paper makes all the difference. Also, grab a printer, sharp scissors, a craft knife for those fine details, a ruler, and a quick-drying craft glue with a fine tip.
Next up, print your template correctly. Use your printer’s ‘best’ quality setting. Trust me, you don’t want fuzzy lines.
And make sure the print scale is set to ‘100%’ or ‘Actual Size’. This avoids any distortion that can mess up your project.
Now, cut and score with precision. Cut lines are solid, and fold lines are dashed or dotted. Scoring is key.
Use a dull tool, like an empty pen, and a ruler to score along the fold lines. This ensures sharp, clean folds.
Pre-fold all the scored lines before applying any glue. It’s a small step, but it makes assembly much easier. Work in small sections.
Glue tabs and hold them for a few seconds until they set. Most templates use ‘mountain folds’ (peak up) and ‘valley folds’ (crease down). They’re usually marked, so keep an eye out.
And there you have it. Follow these steps, and you’ll be well on your way to creating something amazing.
Pro Tips for a Flawless, Professional-Looking Finish
Position this section as the key to taking their projects from ‘homemade’ to ‘handmade’ quality.
Paper Choice is Everything: Reiterate that using cardstock instead of regular printer paper is the single most important factor for a sturdy, professional-looking model.
Master Your Gluing: Recommend using a toothpick to apply tiny dots of glue to small tabs. This prevents messy smudges and paper warping from too much moisture.
Patience is a Virtue: Stress that rushing is the enemy of good papercraft. Allow each glued section to dry completely before attaching the next part to ensure a strong structure.
Start Simple: Advise beginners to choose a project with fewer, larger pieces to build their confidence before tackling a more complex and detailed model.
Now that you have the blueprint for success, choose your first project and start bringing your unique aesthetic to life!
 Vionaryn Glimmerquill is a contributor at Eyex News with a focus on global headlines, unusual discoveries, and emerging topics gaining international attention. Passionate about uncovering stories that combine relevance with curiosity, he delivers content designed to keep readers informed while exploring unique angles often overlooked in mainstream reporting.